Sale products
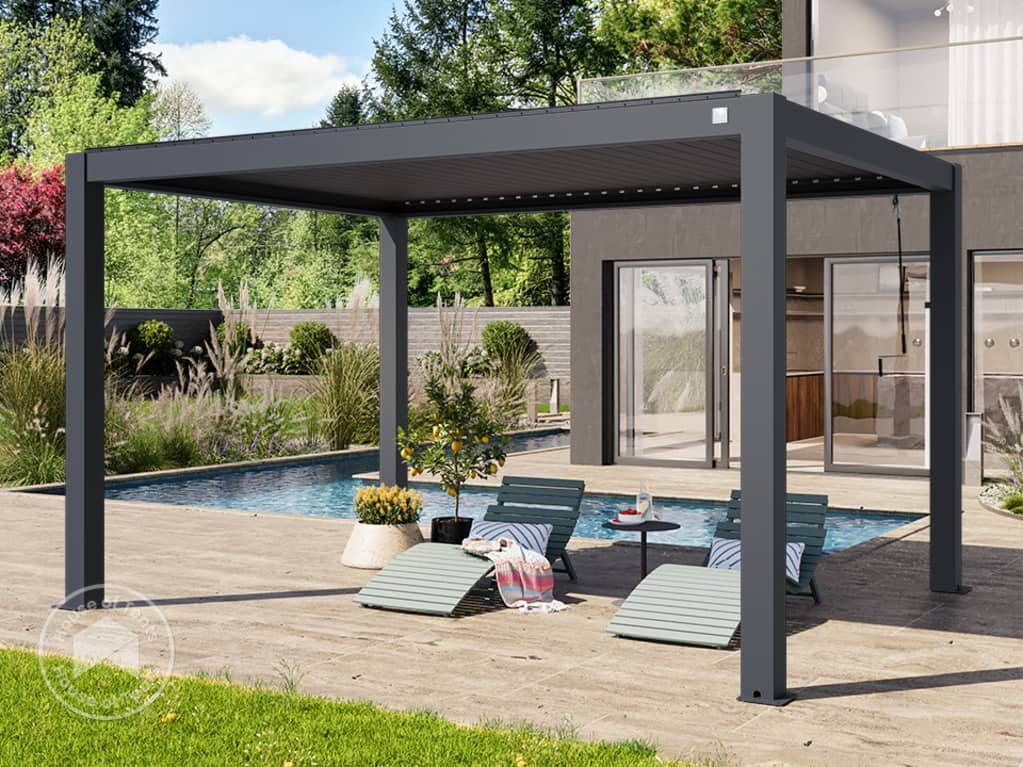
Pergola 3x4 m
Classic
- Shade sail - polyester 180
- Steel square profile: approx. 80 mm
- Rail system
- Incl. parking position plate
available immediately
free Mainland delivery£599.00*1
£390.00
Does building your pergola seem incredibly complicated and time-consuming? Not with our DIY pergola kit! Every pergola in our range can be easily built without requiring specialist knowledge! Use our easy-to-understand step-by-step instructions and your DIY pergola will be quickly assembled on your terrace, patio, or garden!
These instructions will guide you through the process and provide an overview of the most important steps and ideas for building a free-standing pergola without stress or breaking a sweat!
We have two tips to consider before you build your pergola. Please also check with your local building authority to see if you need a building permit. The legal requirements for pergolas currently vary by county and borough. At a peak height of 2.33 metres, our pergolas are typically suitable to build without planning permission in the UK, provided they meet other local requirements. Please read through our 'Planning Permission' guide for more detailed information.
Lay out the pergola kit completely – for example, in a large garden corner or terrace. Familiarise yourself with the individual parts of the pergola kit. Take the opportunity to sort them – by screws, bolts, beams, and posts. Once the kit is sorted, you won’t waste valuable time searching for different materials on assembly day.
Also, check that all the pieces in the instruction manual are present. Allow enough time for these steps—for instance, our freestanding pergola with a louvered roof can come in four or more boxes that need to be sorted and checked. It’s worth noting that thanks to the prefabricated kits, you save a lot of costs when building the pergola yourself compared to a complete custom build.
Before you assemble the individual pieces of the pergola into a complete structure, you should familiarise yourself with the PDF assembly instructions. The great advantage of our DIY instructions is that they consist mainly of diagrams rather than long text blocks, making the individual steps easy to follow.
If you have any questions about building the pergola that are not answered in the manual, our expert customer service is available to help. You can also view the instructions before purchase: go to the product page of your preferred pergola, click on the “Assembly” field, and then click on the “Assembly Instructions” link. You can download them with all the steps for DIY assembly!
Create a level and solid foundation to ensure your garden pergola is firmly grounded. We recommend a point foundation for its stability, efficiency, and durability. It provides a stable base that evenly distributes the pergola's weight, minimizing pressure on specific points and enhancing overall stability. This method is quick and straightforward, making it ideal for DIY projects. Concrete blocks offer a long-lasting foundation capable of withstanding various weather conditions.
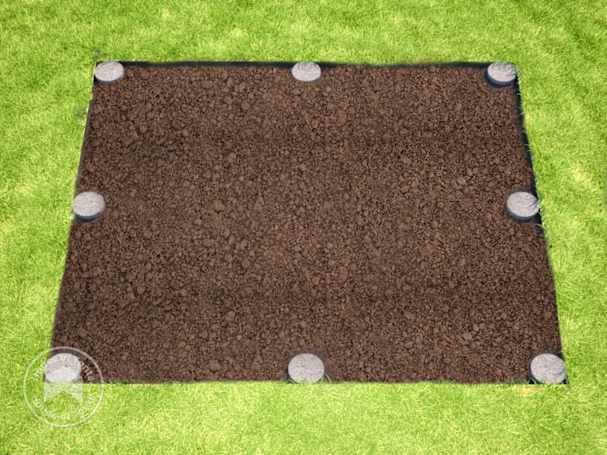
Preparation
Mark the exact locations for the concrete blocks with the appropriate spacing between posts. Make sure the ground is level and firm.
Digging holes
Dig holes at the marked locations. See that you dig deep and wide enough to fir the concrete blocks for the point foundation.
Placing the block
Place the concrete block firmly and verify that they're even, using a spirit level.
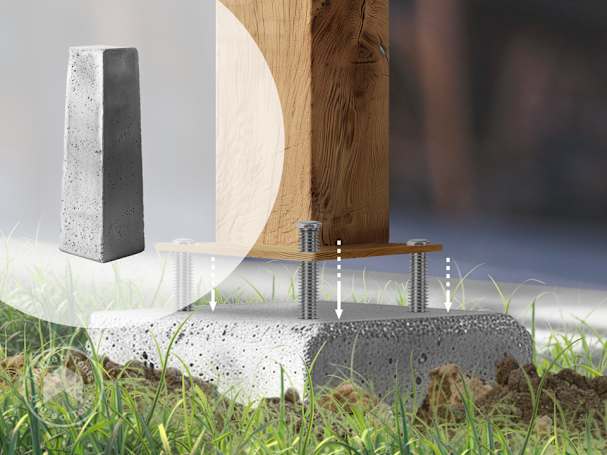
Stabilization
Fill the hole around the block with concrete or stabilizing material to secure the block in the ground.
Curing time
Under average conditions, concrete typically hardens enough to walk on within 24 to 48 hours, can support the weight of vehicles after one week, and fully cures in 28 days.
Please allow the concrete to fully cure before proceeding to the next steps.
Once the foundation is set, you can start building the structure. Whether your pergola kit is made of aluminium or steel, the following steps are the same for both materials.
Simply screw in the posts onto their respective cement blocks through the pre-drilled holes at the base of each post.
Make sure that each post is pointing in the right direction to facilitate the attachment of the beams.
Now, it's time to attach the beams.
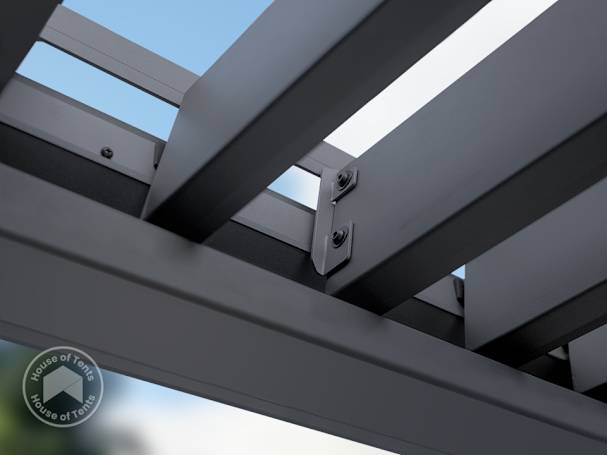
Note that the beams on our Classic pergola are installed differently from those on our Premium and Deluxe pergolas. You will need a ladder in both cases.
For our Classic pergolas, the beams are secured using the appropriate screws, nuts, and plates. Start by attaching the outer post beams, followed by the inner post beams, which are layered on top of the outer post beams.
For our Premium and Deluxe pergola options, the posts have slits where the beams are inserted before being secured with the appropriate screws, nuts and plates.
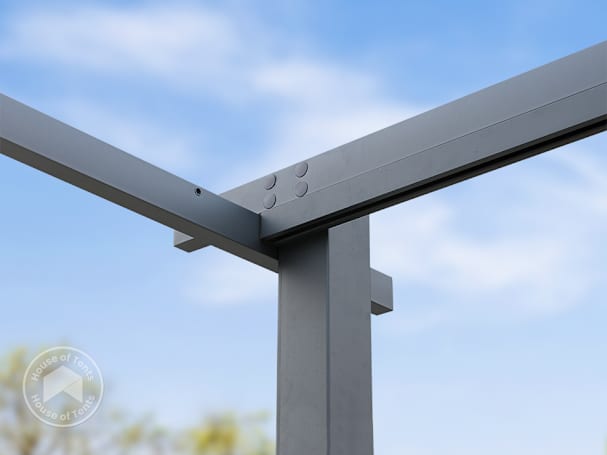
Depending on the size of your pergola, you will need to connect four or six posts with the beams. Once all the beams are attached, secure the corners with the protective corner pieces.
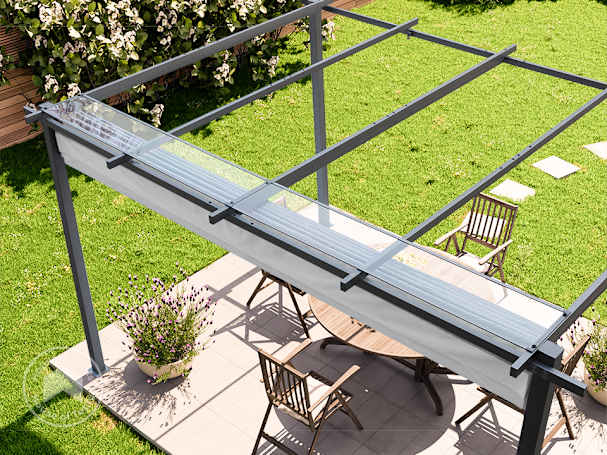
Next, you'll need to install the pergola roof. Our shop offers two different roofs: a weatherproof louvered roof and a modern retractable shade sail roof.
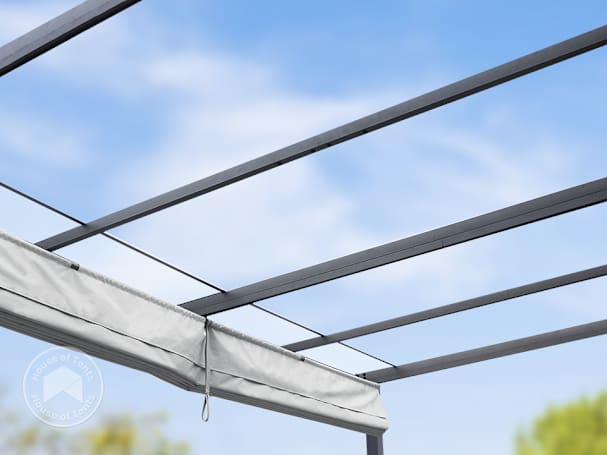
If you’ve chosen a shade sail pergola for your outdoor space, start by attaching the crossbeams. Screw the crossbeams to the main beams that form the frame of the structure.
Once this step is complete, attach the track system to the crossbeams.
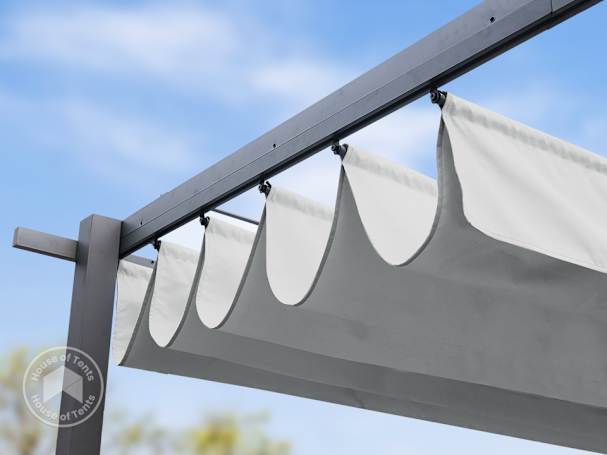
Next, thread the thin poles through the respective holes in the shade sail and carefully hang it in place onto the track system.
Finally, install the polycarbonate park plate over the cover. Use the strap at the end of the shade sail to open or close the sail.
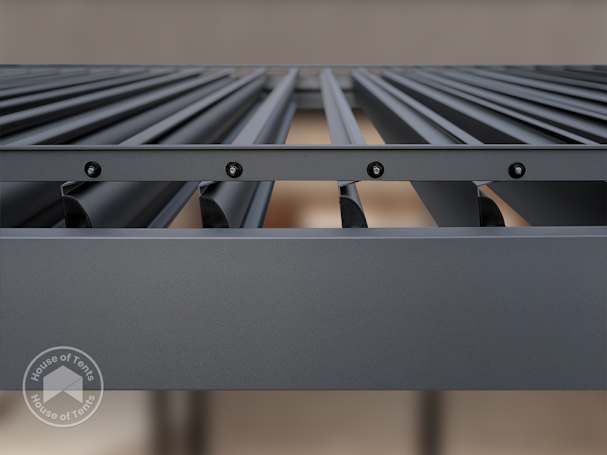

Begin by attaching the internal guttering system to the horizontal beams, ensuring a tight fit to prevent leaks.
Next, position and attach the louvers to the pivot points on the frame, and install the crank handle mechanism in its designated location, connecting it to the louvers for adjustable control.
Ensure all parts are properly aligned and securely fastened, then test the crank handle to verify smooth operation and proper water drainage through the internal guttering system.
Last step! It’s time for an inspection. Are all the connections secure? Do any screws need tightening? Are all materials used? Check your DIY pergola for stability – take your time and be thorough in this step. There you have it. You now know how to build your very own pergola! Whether on your patio or garden, you are bound to spend some wonderful times under your pergola.


If you have any questions about our products or need further assistance with your pergola installation, please don't hesitate to reach out to us. Our team is here to help and ensure you have everything you need for a successful project. Contact us today for expert support and advice.
Expert advice